I'm using photoshop to the best of my ability to replicate old (ca. 1984-1988, RIP) monochrome macintosh bitmaps. It's involved. First, obviously (if you happened to know it), one has to set the document to 576x720 pixels. Your toolbox is limited to the pencil, select tool, magic wand, and fill-bucket. Have a white background layer, and then another layer on top. This has the effect of a transparent background; one can select chunks of the drawing and move them around without selecting big chunks of white along with it. The paintbucket and select tools should be set to a "tolerance" of 1, have "contiguous" checked, while "anti-aliased" is unchecked. It doesn't matter whether "all layers" is checked or not.
You need to define some patterns to emulate the alternating pixel patterns macs used to simulate shades of grey. So, make new files 2X2 pixels, 4x4, 8x8, etc, zoom all the way in, and mark them up with the single-pixel pencil to your liking, in such a way that repeated squares of the pattern will interlock with each other seamlessly. Then, you select "edit > define pattern." here's the pattern used to produce the classic mac "medium grey":
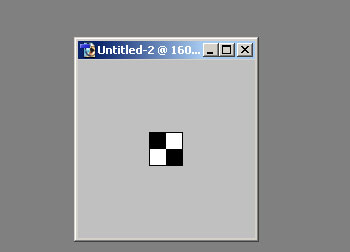
...and a box filled with it:

To fill a black or white area with a new pattern, you use the paintbucket and its option to fill with a pattern.
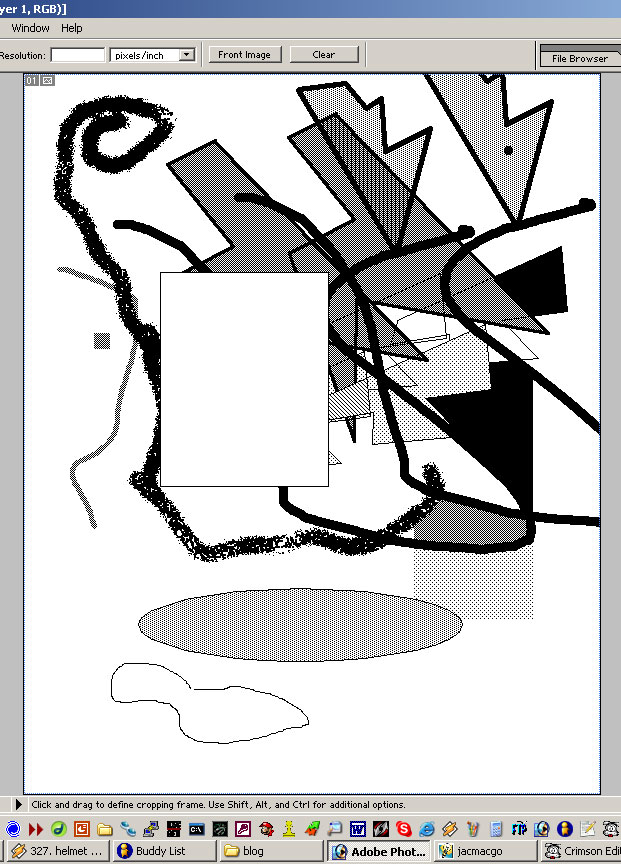
You can draw polygons with the pencil by holding down the shift key and clicking about. This connects one point to another with a line. You can draw elipses and rectangles by selecting an area, filling the area with black, selecting the black, contracting the selection by 1 pixel, and then deleting the selection. Then, if you want, you can fill the interior with one of your defined patterns.
But the magnum opus, the creme de la creme, is doing detailed monochrome-grey shading. A good example of this shading effect is in my copied "iron maiden" album cover. The amount of meticulous, obsessive time I put into images like this still amazes me.
Ok, first you draw your outline in black or in some monochrome-grey pattern. Then, you go to the photoshop color-pallette and select a shade of ACTUAL grey (or any colour you like) that matches the hue in which you want to shade. Then shade it -- pencil the grey around the edges of your outline. Then, choose the paintbucket, and uncheck "contiguous." then, you can fill in your actual grey with one of your new pattern greys. Repeat until you have all the shades you want:
Of course there are still some problems with the replication. For instance, there doesn't seem to be any way to rotate something without making it all screwy with photoshop's grey-scale shading.
Also, photoshop can convert photographic images to clones of old mac digitization. It's in the "save for web" screen (ctrl-shift-alt-s): select "GIF," "black and white," and either "diffusion" or "pattern" under the drop down with "diffusion" as the visible choice. Diffusion looks nicer and more photographic, but pattern is more true to mac art. I dunno. Depends on the project. The following is "diffusion" (of the venus of willendorf, tee-hee):

I like monochrome; a full color pallette overhelms me. A more limited toolbox makes one more creative, I think. I find that it inspires a more active thought process. But mainly, I think that it's just nice to have a smaller toolbox because it's so hard to acquire comfort with every tool in something as huge and sprawling as photoshop really well, and use everything to its potential. There are people who have used photoshop for 10 years and still don't know everything. Most people, such as myself, only use a fraction of it. I haven't been able to wrap my mind around photoshop yet, to be a "photoshop hacker." I think I might have been considered a "superpaint hacker," though, backindaday.
It's funny how it's so much effort to replicate depricated technology, imperfectly. I guess that's the way it always is.
